Skip to content
OUR WAREHOUSE IS FULLY OPERATIONAL. SHIPPING ALL ORDERS FROM SUNNY BRISBANE.

Taper Hybrid Carbon Fibre NorthStar Elite

$3,004.05
SKU TAPER-HYBRID NT


Delivery and pick up options available at checkout.


Delivery and pick up options available at checkout.

  • Taping

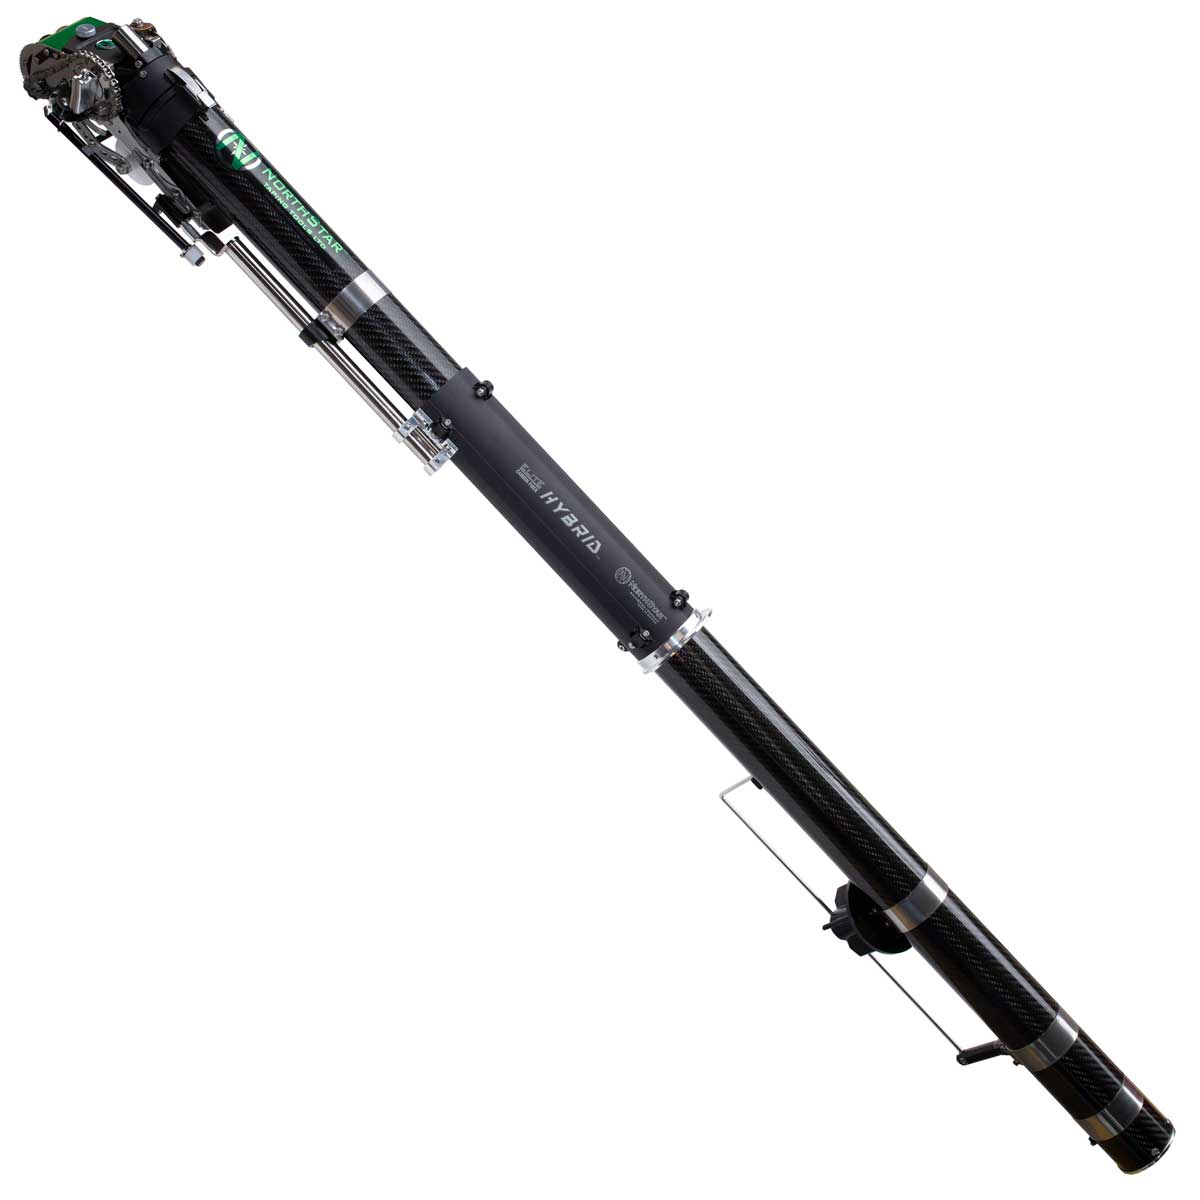
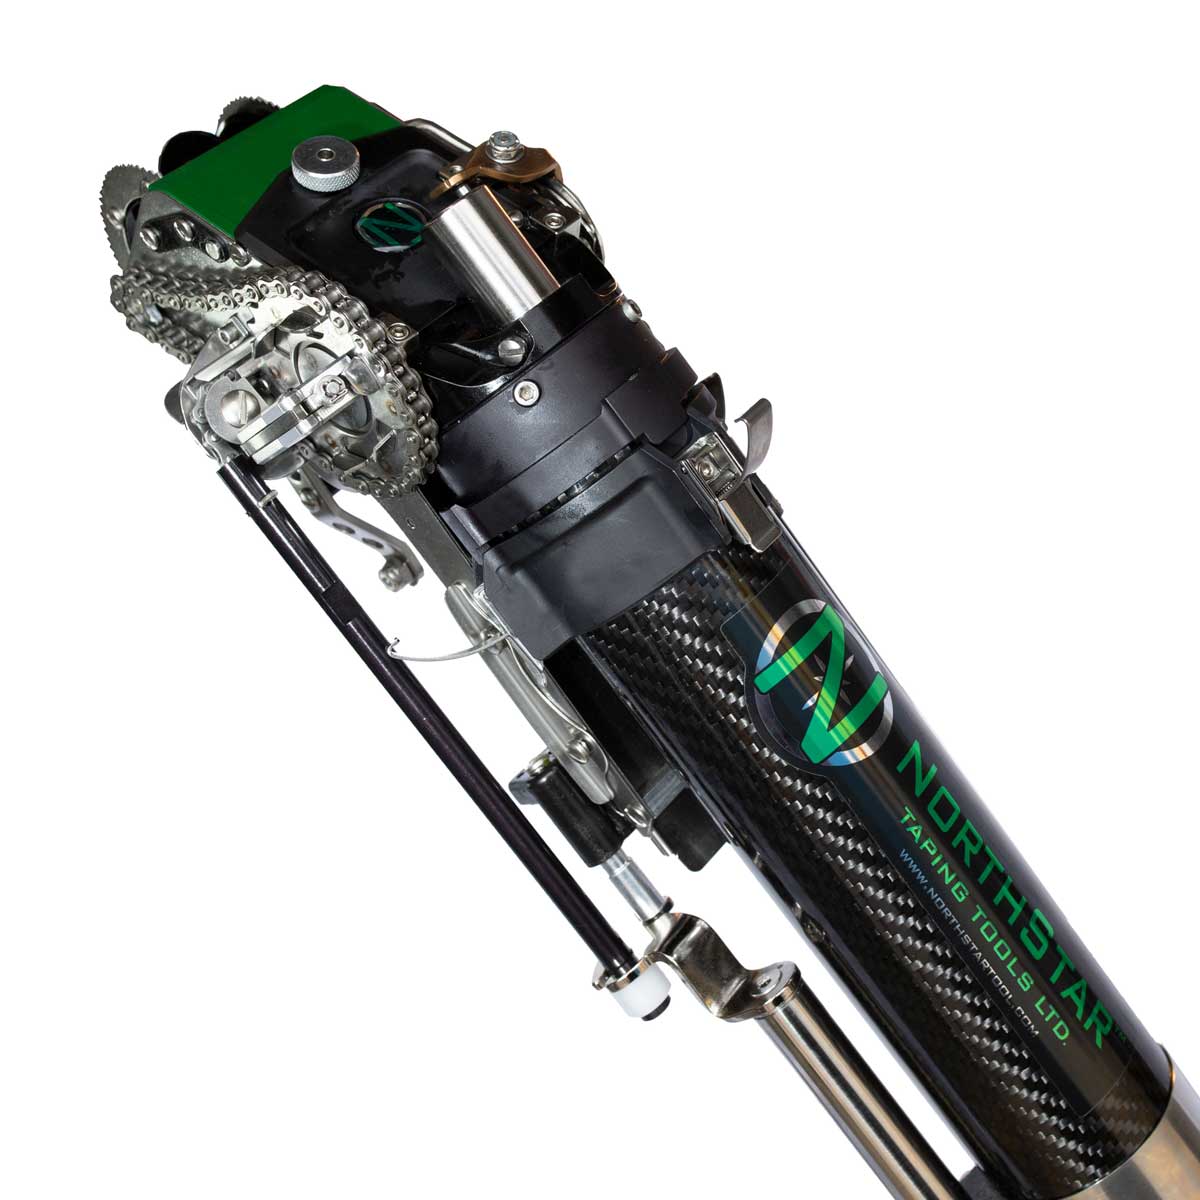
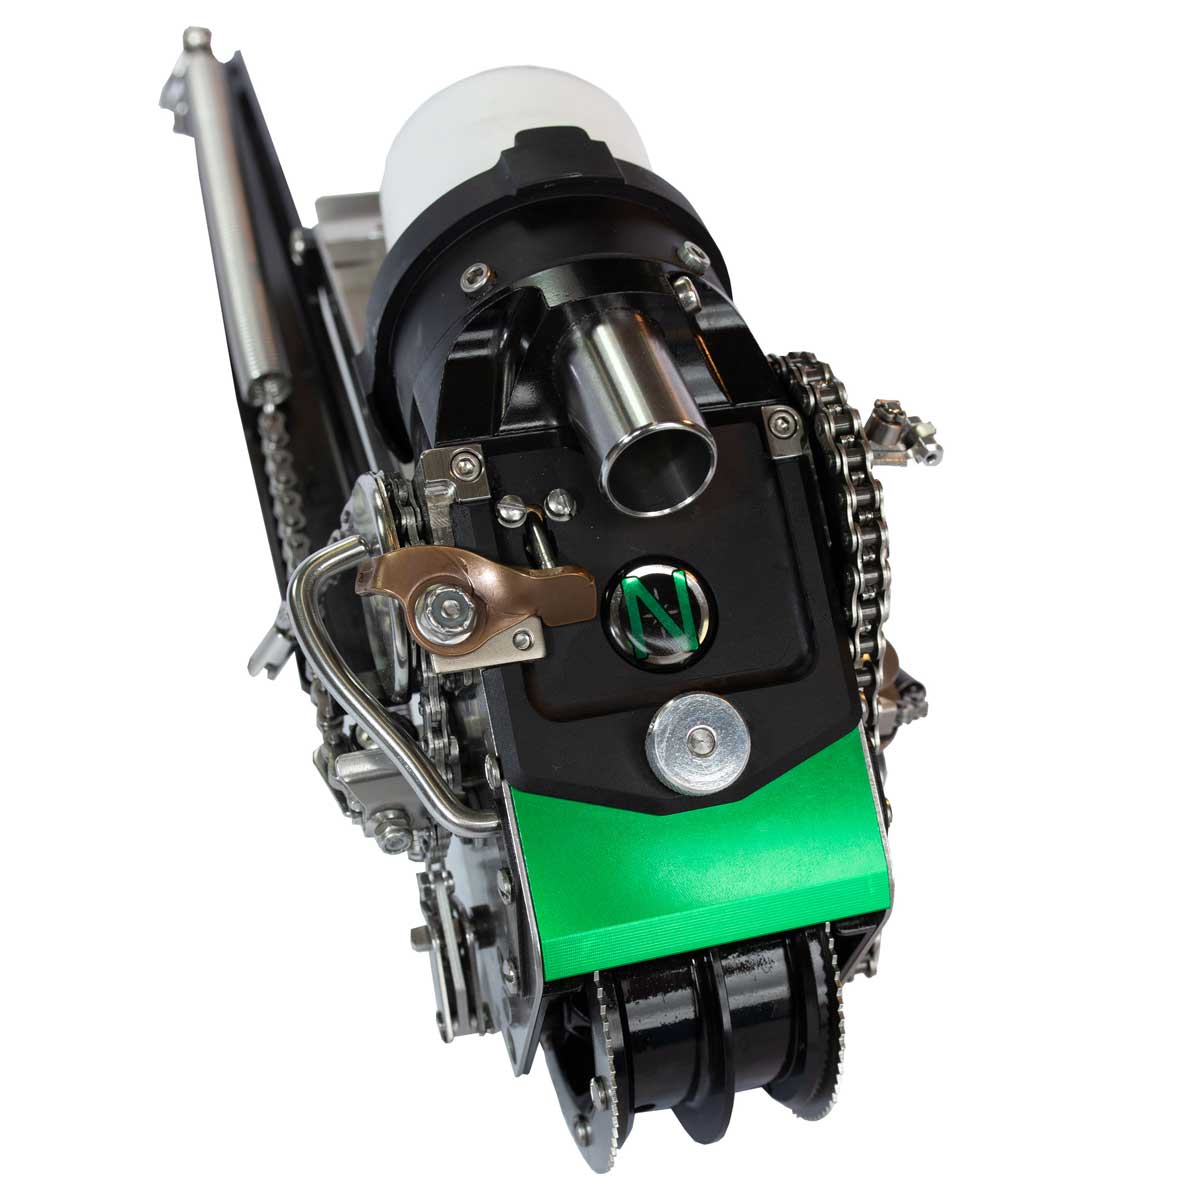
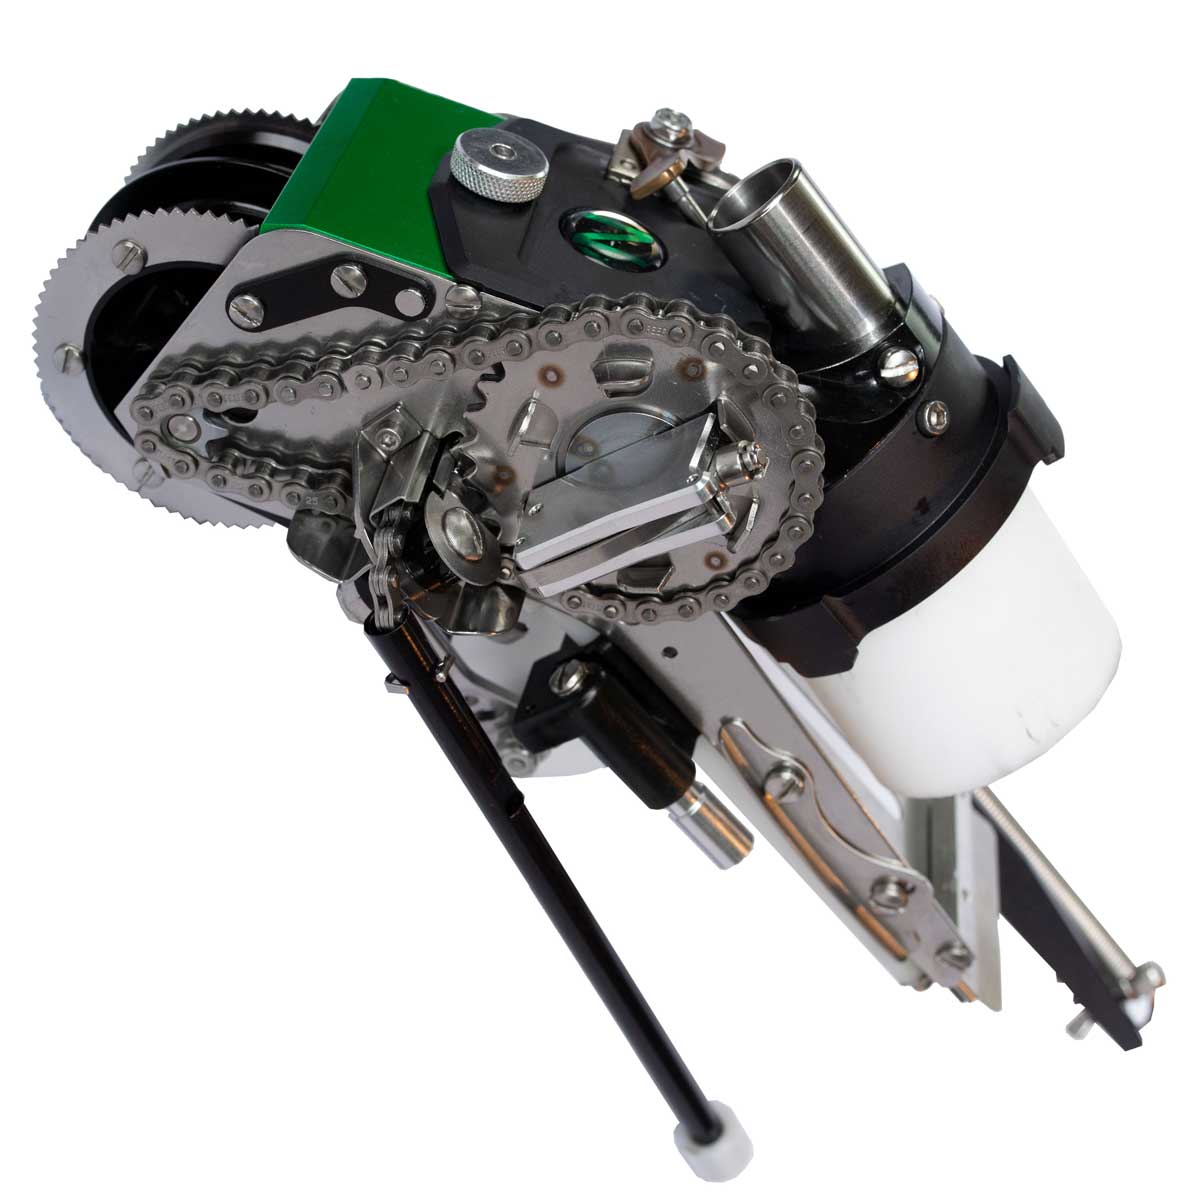
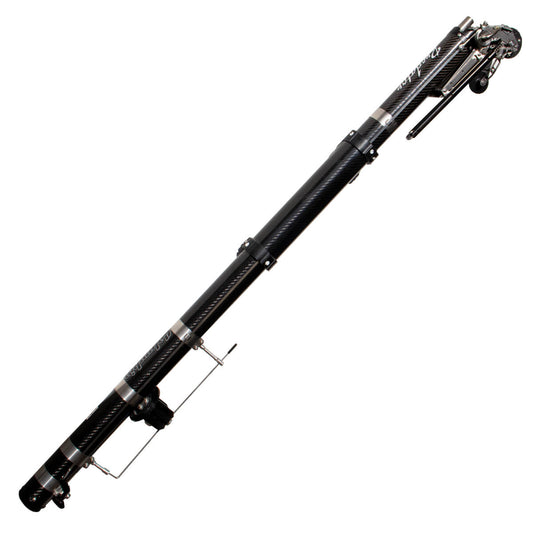
This taper is truly a piece of engineering art.

Presenting the NorthStar Elite Carbon Fiber Taper. This tool is filled with exclusive features not available from any other manufacturer.  The head is easily removed from the taper tube with three buckles.  This makes for very easy cleanup and cable changes.  

The NorthStar Hybrid™ Carbon Fiber Elite Taper features:

  • A high quality polished carbon fiber taper tube for premium finish and durability
  • The taper head detaches without having to remove any screws for  a quick and easy clean up
  • The taper head can also be quickly taken off and installed on a NorthStar Hybrid mini tube assembly
  • Very light weight at 5 lbs 12 oz

The NorthStar carbon fiber taper is also part of NorthStar Elite™ series, so it has the following Elite features:

  • New split cover cap allows for easy cleaning and access to cable for quick replacement
  • Quick release tape spool keeper for quick and easy change of tape rolls
  • Isolated creaser bracket for smoother creaser action, reducing drag
  • Hard black anodized head and drive wheel

Standard features:

  • Precision one piece drive wheel with split wheel plates for a smoother roll, allowing you to change wheel plates without removing the wheel drum.
  • Adjustable paw roller ("clicker") lets you run the tension you prefer and adjust for wear
  • Adjustable cutter spring system allows for tension adjustment and easy blade change adjustment
  • Open cutter spring system provides strength and allows for easy cleaning and lubrication
  • Side plates and creaser arms are constructed out of stainless steel for strength
  • Creaser chain and cutter chain are a leaf*style stainless steel chain;
  • Critical parts: taper head, cover cap, tape runners, drive wheel, and cable drum are precision machined from billet aluminum (6061*T6) for superior strength, AND hard black anodized for added durability and corrosion resistance

Loading

You will use the pump with the gooseneck attachment for loading. To load follow these easy steps:

  1. Close the gate valve and disconnect the drive, then invert the unit;
  2. Securely seat the filler nozzle on the gooseneck taking care to get a good fit so you will not have leaks. Hold the unit with one hand on the base with your fingers inside the tube;
  3. Begin pumping joint compound until the piston touches your fingers indicating the unit is full (approximately 8 - 9 pumps when empty) - DO NOT OVERFILL
  4. Re-engage the drive and open the gate valve. Insert tape roll onto tape spool by removing the tape roll keeper. Feed tape up along the body and through the tape track, taking care to position the natural curl of the tape so that it wraps around the drive wheel. To start the tape turn the key in a counter clockwise direction until the compound begins to show on the tape.

Operation

Start with the butted-end joints then on to the recessed joints and then finish the inside corners. Advance the tape by turning the flow key until you have about 2 - 3 inches of coated tape over the drive wheel. Start your leading edge in the corner using the corner creaser wheel to help hold the tape in place for about the first 1 - 2 inches. Start the joint with both drive wheels on the surface and slowly angle the tube so that only one wheel is on the surface. This will help keep the proper amount of compound under the tape and not squeeze it out causing drips. Proceed along joint leading with the head until you are 3 inches from the end. Come to a complete stop keeping the drive wheel in contact with the surface and cut the tape by pulling back on the control tube. Then move it back to the neutral position and roll out the remaining tape to the end. This will also feed the leading edge of tape for the next run. When running vertical joints start at the lowest point and work up in the same fashion as horizontal joints. For inside corners you will again start in the corner or at the lowest point and work through the run but this time you will keep both drive wheels in contact with the surface for the entire run. Hold the tube at a 45° angle to the joint and engage the corner creaser wheel to fold the tape into the corner. Maintain this contact throughout the run. Take care to keep the tape centered on the joint and not to twist the tube during the run, so that you do not get wrinkling or creeping that could cause problems in later operations. NOTE: Always keep the gate value closed when not running tape or cleaning to prevent joint compound from flowing out of the end. This also keeps the cable from becoming slack which could cause the cable to hang-up or kink inside the tube.

Tips for Maintenance and Cleaning

Clean tools with water and brush or hose and then lightly coat the tool with a non-penetrating oil to ensure a proper working condition. During use do not allow compound to dry on the tool by placing it into a clean bucket of water.

Tape Cutter Blade Replacement

  1. Hold key ring and loosen wing nut to release tension and slide spring assembly towards taper head;
  2. Pull the chain through the other side until the blade is exposed;
  3. Loosen the blade locking screw and replace the blade;
  4. Pull down on the key ring and slide it back to its original position and tighten wing nut.

Cable Replacement

  1. Remove the ring from the bottom of the tube;
  2. Pump taper full of water or use a 4 ½ ft rod to push the piston out of the bottom end of the tube;
  3. Remove the cover at the top of the tool and drain the water or remove the rod;
  4. Loosen the screw on the cable drum and remove the cable;
  5. Remove the opposite end of the cable from the piston;
  6. Secure the new cable to the piston and drop the excess cable into the tube;
  7. Insert the piston into the tube;
  8. Secure the other end of the cable to the cable drum and tighten set screw;
  9. Replace ring and rewind cable onto cable drum with advance key until the piston returns to the top of the tube;
  10. Replace cover cap.

Related Products

Customer Reviews

Based on 1 review Write a review